


Notes and memories
Notes and memories
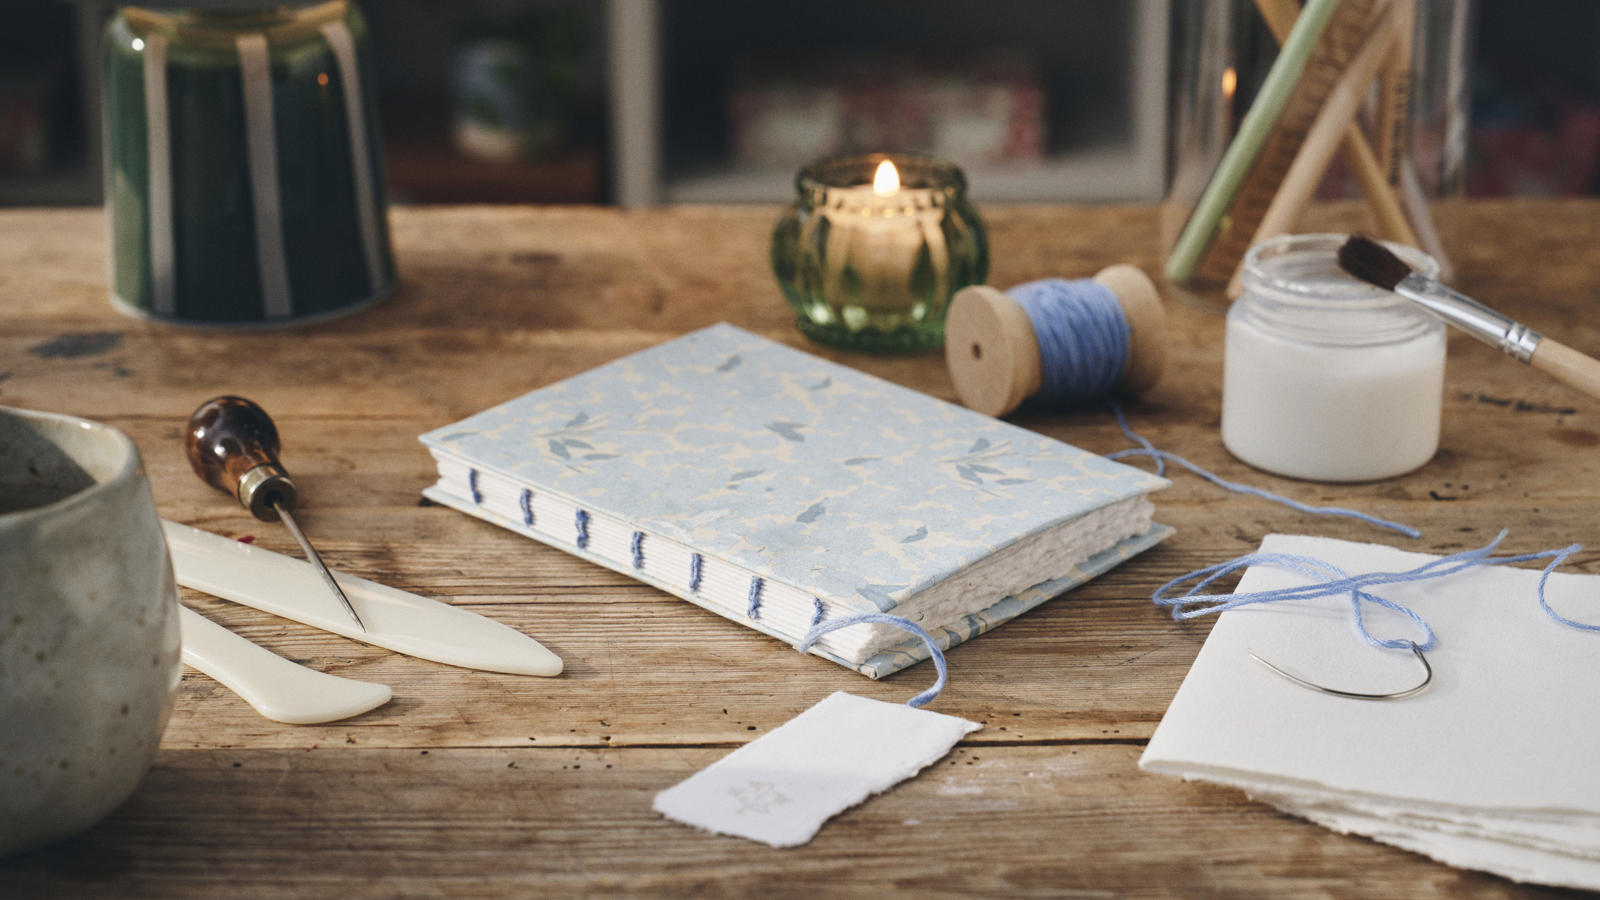
Bind your own personal book
With embroidery thread and cotton paper, you can bind your own book. "A homemade book is an ideal guest book for larger parties or a personal gift idea for new parents who wish to preserve memories of their child's first year," suggests Anna.
Begin the project by folding the desired number of sheets of paper in half. If necessary, use a bone folder to make the crease sharp and neat.
Using a ruler and pencil, mark the centre of the folded end of a sheet. Then make marks two centimetres apart on either side of the centre.
Now, pierce holes at the markings with an awl. Use this first sheet as a template to punch holes in the remaining sheets to ensure the holes are in exactly the same place on each sheet.
Next, cut embroidery thread in your desired colour to a length of 150 cm: this length is appropriate for approx. 10 sheets. Thread the sewing needle.
Begin by threading the needle through the first hole, leaving approximately 15–20 centimetres of yarn hanging. Now, pass the needle back through the same hole, but stop before the embroidery thread is completely through, creating a loop. Repeat this in the remaining holes of the sheet, except for the last hole. Here, the yarn should simply hang loosely on the outside of the sheet, so that the two ends of the sheet are symmetrical. "Be careful not to tighten the yarn along the way, so those tricky loops do not disappear," Clara reminds.
Now place a new, folded sheet on top of the first one, ensuring the holes align. Then, sew the sheets together by threading the yarn through the matching hole on sheet no. 2.
Now pass the needle back through hole no. 2. Pass the needle through the loop of the hole on sheet no. 1, and gently pull on the adjacent loop so that the loop tightens around the yarn, attaching the two sheets to each other. Pass the needle back through the same hole.
Repeat step 7 at the remaining holes in the sheets until the sheets are secured at all holes. When you reach the last hole, tie a knot with the loose thread from the first sheet.
Now, the base of the book is finished. Add a third sheet on the other two, and sew through the second hole in this third sheet. Then switch to the curved needle, and thread the yarn again. The yarn and the curved needle should now be on the book spine's side.
Now, pass the curved needle between the seams of the two previous sheets at the spine of the book, as shown in the video, to bind the pages together. Grasp the curved needle, and pass it back through the hole you came from on the third sheet and 'into' the book. Pull the needle out through the next hole, and repeat the process by stitching between the previous sheets' seams and back through the same hole until all holes are secured.
Add another page, if desired, and repeat step 10. You can add as many pages as you wish. The more pages you add, the clearer the spine's stitches will resemble chain stitching. Ideally, finish with the yarn at the same end as the loose, initial thread, so you can secure and tie the two pieces of yarn together. Trim the loose ends, "... or attach a name tag or other decorative item to them for an ornamental and personal touch," Anna suggests.
Finally, create a decorative front and back cover for the book. You can easily use recycled cardboard and cover it with decorative cotton paper in your favourite colours, as shown in the video. Glue both the front and back covers directly onto the book.
Finish by applying glue to the spine of the book, and let it dry under pressure overnight. Now, your personal book is ready to be filled with notes, greetings, or memories — whether yours, your loved one's, or those you create together.
-
Cotton paper with print
-
Blank cotton paper
-
Awl or thick needle
-
Sewing needle
-
Curved needle
-
Embroidery thread
-
Small scissors
-
Large scissors
-
Bone folder
-
Ruler
-
Pencil
-
Recycled cardboard
-
Glue for book binding

