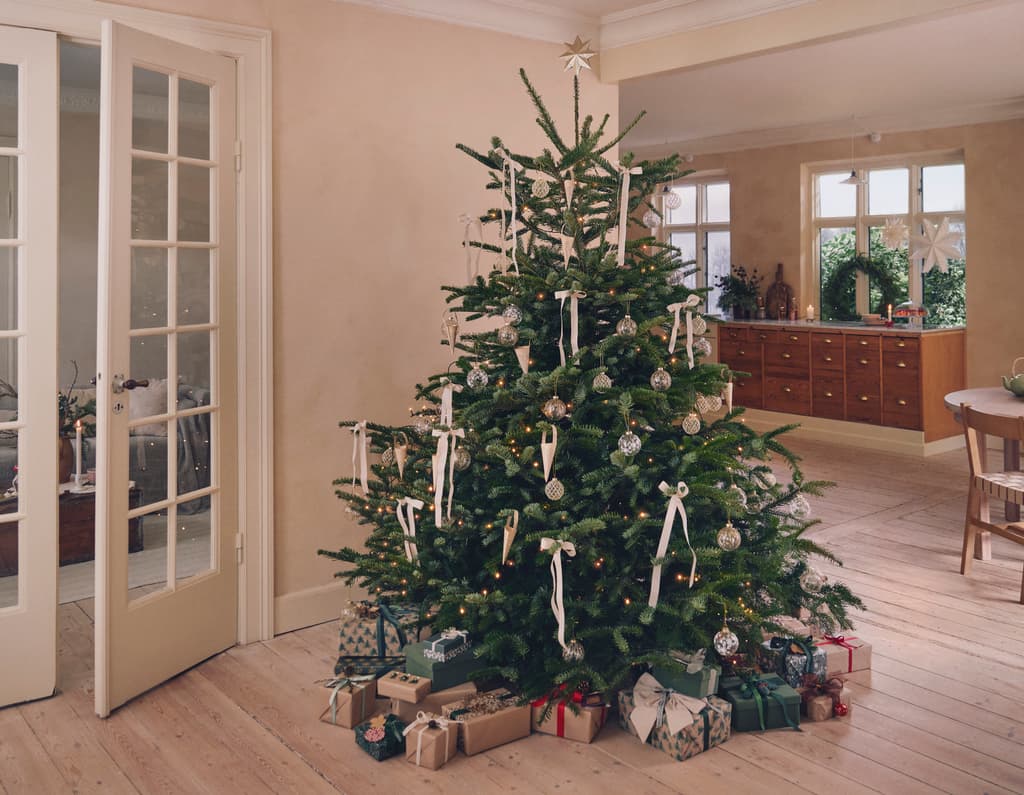

Christmas
Christmas
Create a beaded Christmas tree
The little beaded Christmas tree, made in the company of their nieces and nephew, holds a special place in Anna and Clara's heart. "It is a very special joy to decorate the tree year after yaer with what the dear little ones have made," they both believe.
Start by cutting off a piece of thick wire approximately 30 cm long. This piece will form the trunk of the tree. Use the long-nose pliers to bend one end downwards to create a small loop that forms the top of the tree.
Now you need to create branches for the Christmas tree. Cut a suitable piece of the thin steel wire and thread green beads onto it. Then, twist the ends of the beaded wire around the trunk a few times to secure the branch of beads.
Continue to make small drop-shaped loops of beaded wire and attach them to the tree trunk. The drops should be larger the closer you get to the bottom of the tree. Continue until the treee has the desired denseness.
Take a piece of of the air-dry clay, and roll it out to a maximum thickness of one centimetre. Cut out a circle with a cookie cutter or glass of suitable size.
Make a hole in the centre of the round clay disc, making sure the hole is slightly larger than the thickness of the metal stem. The clay will shrink as it dries.
When the clays is dry, insert the base of the Christmas tree. Use glue to stabilise the tree.
Optionally, create additional ornaments such as candy canes, candles and a tree topper from wire and beads, and decorate the tree. "Only your imagination sets the limit," as Anna says.
-
Glass beads
-
Wire
-
Metal wire
-
Side-cutting pliers
-
Long-nose pliers
-
Air-dry clay
-
Glue gun


