


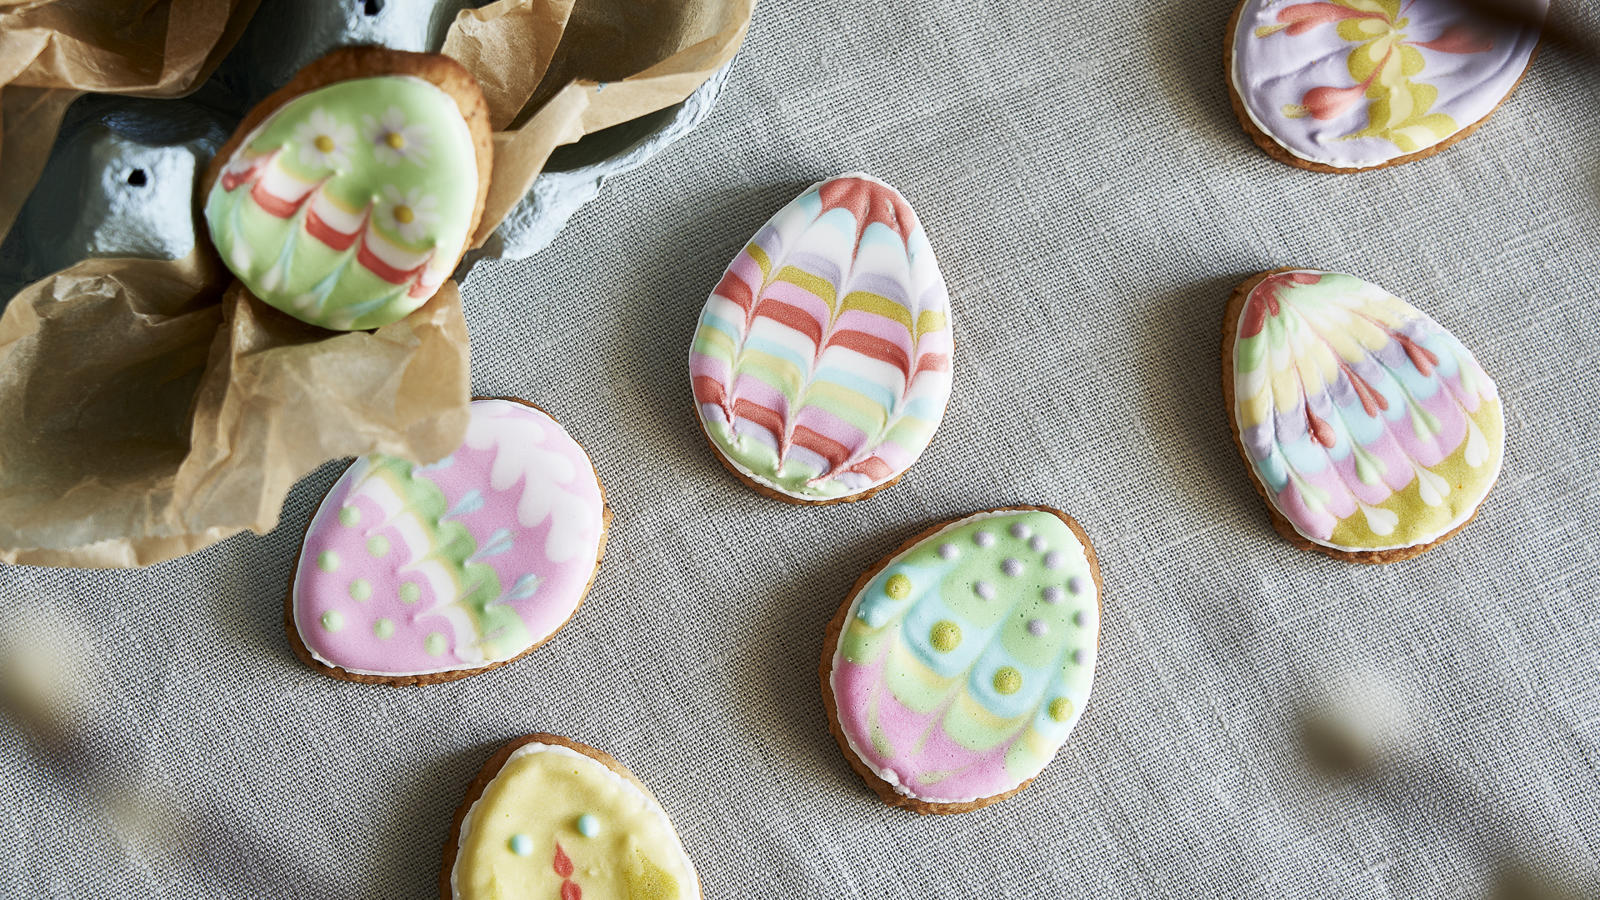
Easter biscuits with royal icing
The colourful biscuits shaped like Easter eggs are an irresistible and creative addition to the Easter table. “Almost too lovely to eat. Almost…” Anna chuckles.
Start by preparing the biscuit dough. Cut the butter into cubes and mix these with flour. Add the other ingredients and knead into a dough. Put the dough in the fridge and allow it to sit for a couple of hours or overnight.
Roll the dough out and cut the biscuits using the template. It is easier to transfer the template onto a sheet of cardboard paper instead of using regular paper.
Bake the biscuits at 200 degrees Celsius in a pre-heated oven for 8-10 minutes. Let the biscuits cool down properly, before decorating them.
Now it is time to prepare the icing. Mix icing sugar and the egg white in a bowl. Decide how many different colours, you wish to decorate the biscuits with and find the same number of small bowls or glasses. In one the bowls, you can mix the icing that you wish to decorate the edges of the biscuits with. It is easier to make this icing first as it should have a thicker, more sticky texture than the other colours, so you can make a thin line with it on the biscuits to prevent the icing from running. If you wish for this icing to be white, then it is ready now.
Distribute 1-2 teaspoons of icing in each bowl. Add a few drops of water to thin these out and add a colour to each bowl. The icing should be airy, but still wet enough to become smooth within 12 seconds of stirring it.
Now, make small piping bags out of baking paper. One sheet of baking paper can be used to make four piping bags as the bags should only be big enough to hold in one hand. Divide a sheet of baking paper into four pieces and shape these into cones. The cones should be pointy and tightly closed at the tip, so the icing doesn’t run out as the cones are filled. You can put tape on the cones to maintain their shape.
Pour the different colours of icing along with the icing for the edge into individual piping bags and close alle the bags at the top.
Cut a very small hole at the tip of the piping bags. You can now test the texture of the various coloured icings. The coloured icings should be wet and run out when pressed out of the piping bags. Press a bit out to test the texture. It should make a nice, small ball that becomes smooth after 12 seconds. The icing for the edge should be thick, sticky, and harder to press out. You should be able to make thin lines with it that do not change shape or run out.
You can now decorate the biscuits. Start with the thick icing for the edge and apply it all along the edge of the egg-shaped biscuit.
Colour the rest of the biscuit with the coloured icings. You can use a toothpick to drag the icing to the edges or to make beautiful patterns on the biscuit. It is a good idea to let these biscuits dry overnight or even longer as the icing is quite wet.
-
Flour400.0 g
-
Butter175.0 g
-
Sugar175.0 g
-
Vanilla sugar1.0 tsp.
-
Egg1.0
-
Syrup1.0 tbsp.