


Yarn and sewing
Yarn and sewing
Embroidery on greeting cards
Adorn a hostess or birthday card with the exact embroidery motif you, or the recipient, prefer. "Personalised touches always bring joy," Anna smiles, recalling how even the wonky embroideries she created as a beginner still managed to put a smile on the recipent's lips.
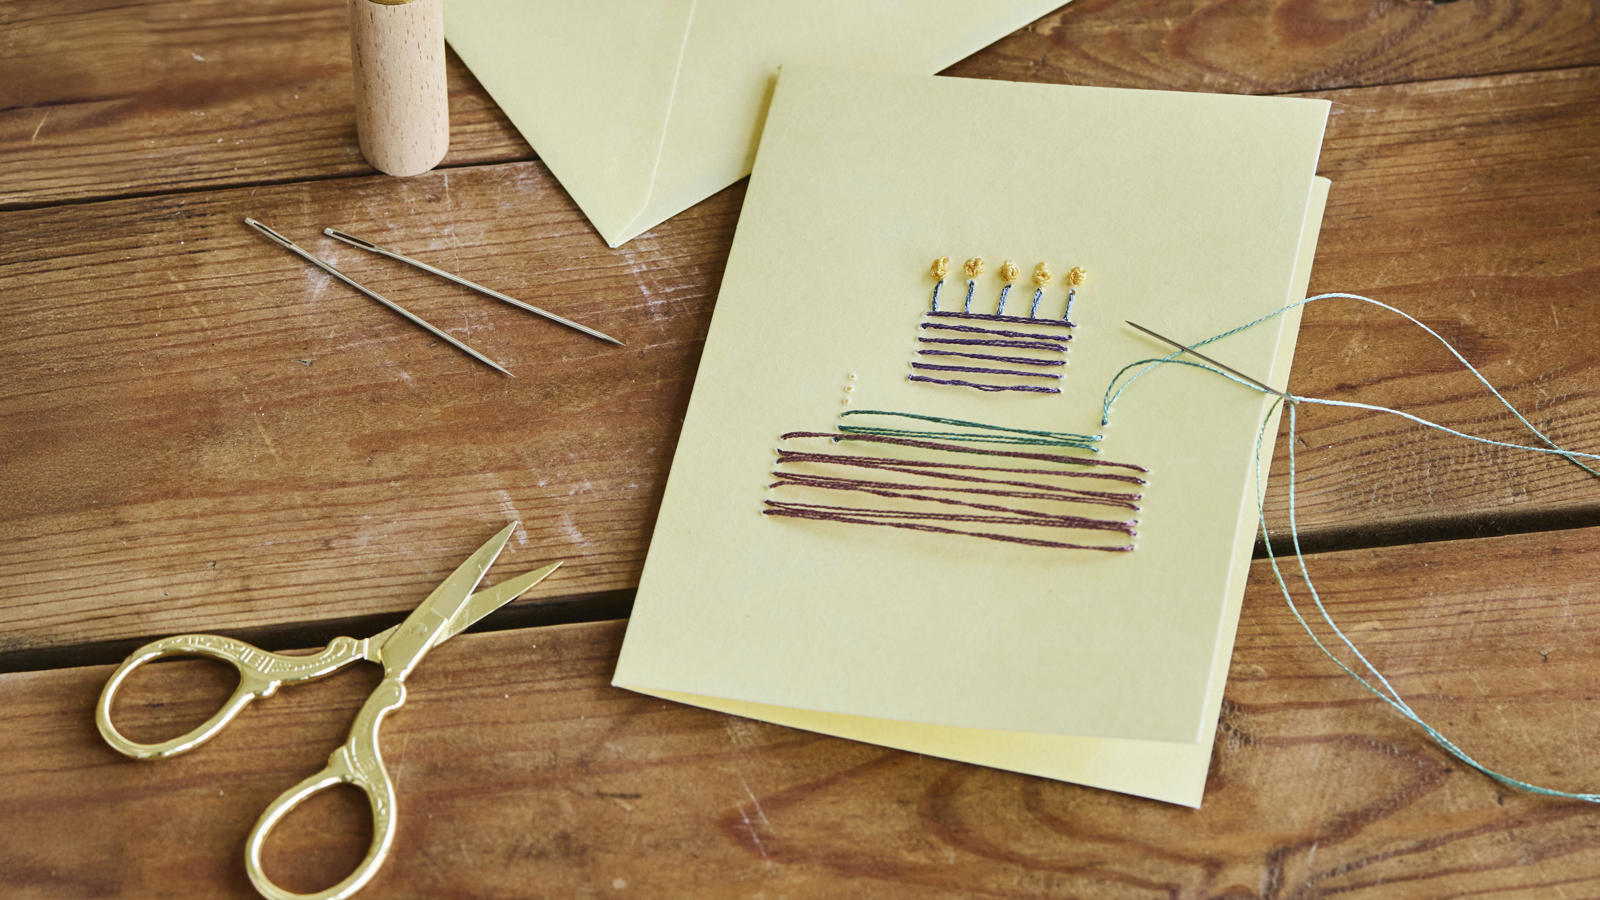
Open your card and sketch the desired motif on the back of the card's front. In the video, Anna demonstrates how she will embroider a birthday cake with candles using three horizontal rectangles and vertical lines on top. Along the sketch, mark some dots spaced approximately 2-3 mm apart.
Now, pierce through all the markings with an awl to make it easier to pass the needle through the paper.
Now sew through the markings with embroidery thread in your favourite colours. In the video, Anna has chosen metallic embroidery thread, and she alternates with different colours in the three layers of the cake.
The candle flame is created by making a so-called French knot. Do so by wrapping the embroidery thread around the needle a couple of times before inserting the needle down through the marking. In the video, you can see how it is done.
When you have finished embroidering, you may choose to protect the embroidery by attaching an extra piece of paper with glue or double-sided tape to the back of the motif.
Write a sweet message in the card, and delight a lucky recipient.
-
Awl
-
Greeting card that can be opened
-
Embroidery thread
-
Needle
-
Pencil
-
Ruler
-
Scissors
-
Double-sided tape or glue (optional)
