
Christmas
Christmas
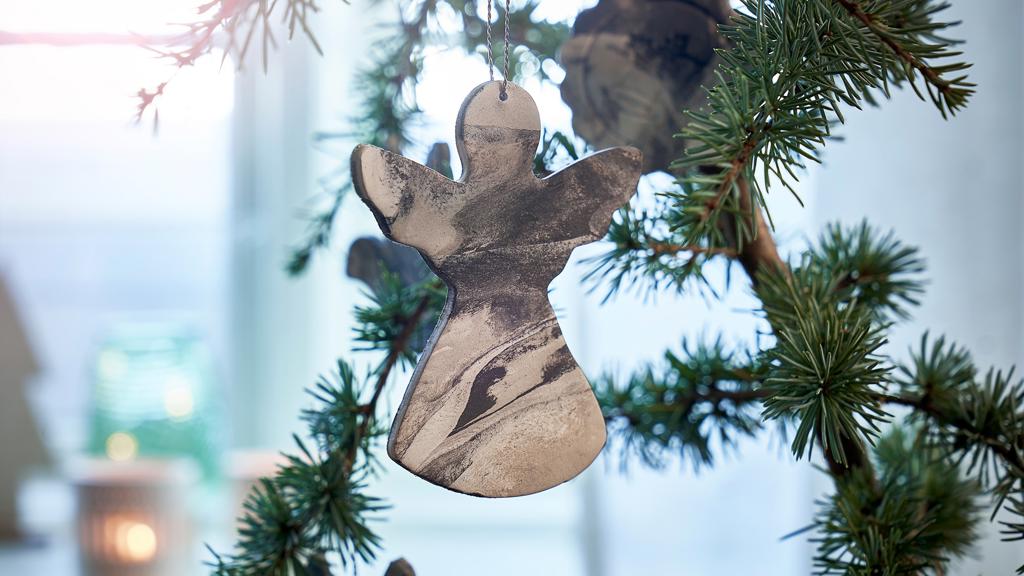
Marbled hangings
Create your own lovely Christmas ornaments with self-hardening clay. “The marbled pattern gives a vibrant yet timeless expression,†Clara says.
Take a piece of white, black and grey self-hardening clay. Use two equal pieces of white and grey clay, and half as much black clay.
Roll out the three pieces of clay and place them next to each other in a row.
Use a rolling pin to roll out the clay a bit, so that the three different colours are brought together into one mass.
Loosen one side of the clay mass and turn it on top of the other side, then roll out again.
Roll the flat clay mass like a Swiss roll.
Cut the roll into pieces that are roughly two-three fingers wide and turn the pieces over so that the spiral-shaped pattern faces upwards.
Place the pieces close to each other and roll out. Now the marble effect should gradually become visible. Repeat rolling out as desired, but be aware that the more rolling, the less obvious the marble pattern will be.
Finally, roll out the clay mass to a thickness of approximately 5-7 mm or as desired. Then cut the desired shapes out of the clay using a cookie cutter.
Make a small hole through the top of each ornament, so that it can be hung up on a string.
Let the marble ornaments dry for 1-2 days until the clay has hardened. Your ornaments are now ready to decorate your home with.
-
Black self-hardening clay
-
Grey self-hardening clay
-
White self-hardening clay
-
Cookie cutter
-
Rolling pin
