


Garden and outdoor life
Garden and outdoor life
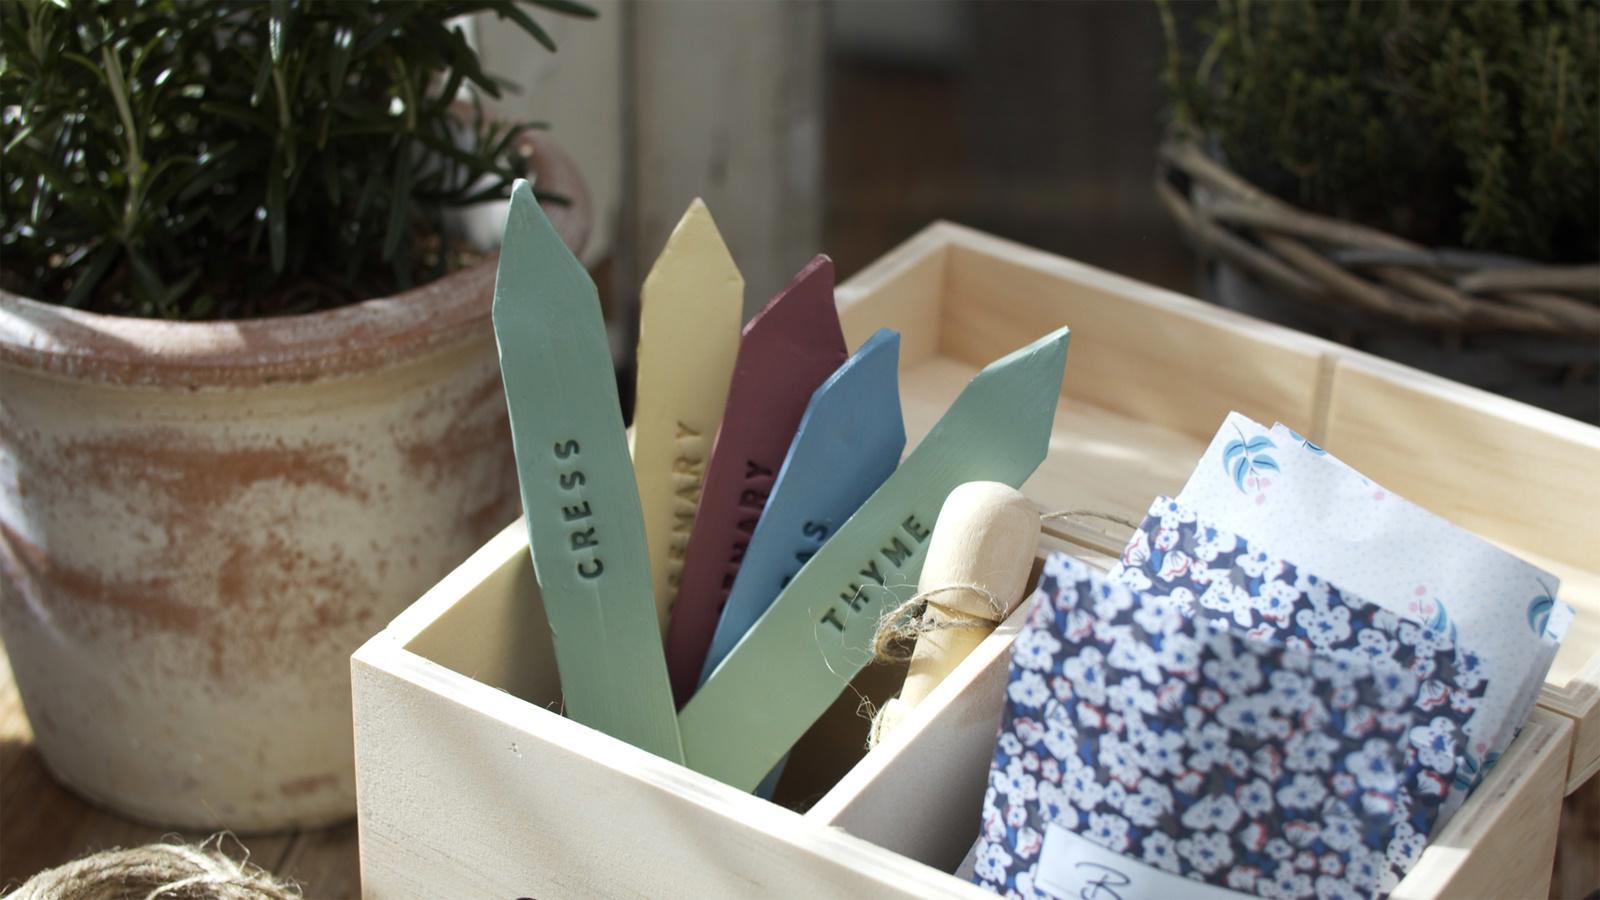
Plant labels
“It is the hard work during spring that gives joy throughout the summer,” Clara tells. The sisters plant sprouts of many types of vegetables and flowers, and with these plant labels it is easy to know the difference between the many green sprouts.
Begin by kneading the self-hardening clay.
Roll out the clay with a rolling pin so that it measures 10 cm wide, 20 cm long and is 0.5 cm thick.
Cut the clay in a rectangle that measures 2 x 17 cm.
Cut a slanting angle on the plant label, so that it gets a pointy angle. It should be cut about 2 cm from the bottom.
Do the same in the other end but make two cuts, so that it creates an arrow.
Dip your fingers in water and smooth out the edges to ensure that they do not crackle.
Take your letters and write the word you want. Press it onto the plant label.
Let your plant label dry for 1-2 days, and paint it in a beautiful colour.
Apply clear varnish to the plant labels after the paint has dried. That way, they will be robust for both wind and weather, season after season.
-
Self-hardening clay
-
Rolling pin
-
Knife
-
Stamp
-
Paint
-
Paint brush
-
Varnish
